
Wood is a coveted material for flooring, and is the top pick for many homeowners. That said, over time wood flooring can become damaged, scratched, and lose its glossy sheen. But wood floors are a lot more resilient than people think, and damage can usually be easily covered up by refinishing them.
Here are the twelve best ways on how to refinish wood floors:
1. Check the wood floors

Checking the wood is one of the most important ways on how to refinish wood floors. When refinishing your floors yourself, you’ll want to make sure that your wood floors are ¾ inch wood flooring.
This type of flooring is the same all the way through. Engineered hardwood flooring has a layered design, and doesn’t react the same as its counterpart. Refinishing or working on engineered wood should be left to professionals.
2. Do the water test

The water test is the best way to confirm what kind of treatment your flooring needs. If you splash a bit of water onto the floor and it soaks in immediately, that’s when you know refinishing is in order. If it soaks in slowly, or if it beads, then you can actually get away with a good cleaning and polishing.
3. Clear the room

Your first step in preparing the floors for refinishing is to get all of your stuff out of there. That means removing any carpets or rugs, all furniture, and any hanging items that could be knocked down while work is being done. Even if it is not touching the floor, that doesn’t mean it isn’t going to be in the way. Clear the room as thoroughly as possible.
4. Prep the floors

Before doing the refinishing, you need to make sure the floors are in the right condition to do so. This means checking for any nails that aren’t hammered all the way down. Do this by sliding something flat, like a putty knife, across the floor.
It will catch on any lifted nails. You can hammer down any loose floorboards with finishing nails. Take this opportunity to remove the shoe base moulding and the door of the room.
5. Clean and protect

You’re going to be doing a lot of sanding, so cover any vents, windows, and lights with plastic to ensure they don’t get a bunch of sanding dust in or on them. You’ll also want to take this opportunity to clean the floors properly to ensure there is no debris.
6. Rough sand

Using a drum sander or a random orbital sander, sand the floor with a course-grit sandpaper of about 40 grit. Make sure to always keep moving, or you could over-sand an area, and ensure to move with the grain of the wood.
Each strip should overlap the previous one by about 1/3. This will ensure that nothing gets missed, and will help to remove most scratches. To get at corners and edges, use a hand sander or a detail sander.
7. Clean and fix

After the initial sanding, you’ll first want to vacuum the floor clean to get rid of most of the sanding dust. Then, you should check the floors for deep scratches or gouges that the sander couldn’t correct. Fill these with a wood filler.
8. Medium sand

You’re going to attack the floor with the sander again, only this time with a medium-grit sandpaper – about 60 grit will do. Using the same technique, sand the entire floor again, and clean it again once you have finished, just like you did the first time.
9. The final pass

One last time, you’re going to go over the floor with the sander, this time using 100-grit sandpaper: a fine sandpaper that will even out most imperfections in the wood. Once again you will move with the grain, overlapping by 1/3 on each row and working out details with a hand sander or detail sander.
10. Clean it well
Now you’re prepping the floor for coating, so you’ll want to clean it extra well. Go over it one last time with a vacuum, and then mop it with a very lightly dampened mop. Do not wet the mop too much, or you could actually cause damage to the floor. You’re just dampening it lightly so it will pick up the dust. You should also remove all of the protective plastic, and clean the whole room so dust doesn’t fall on the newly coated floors.
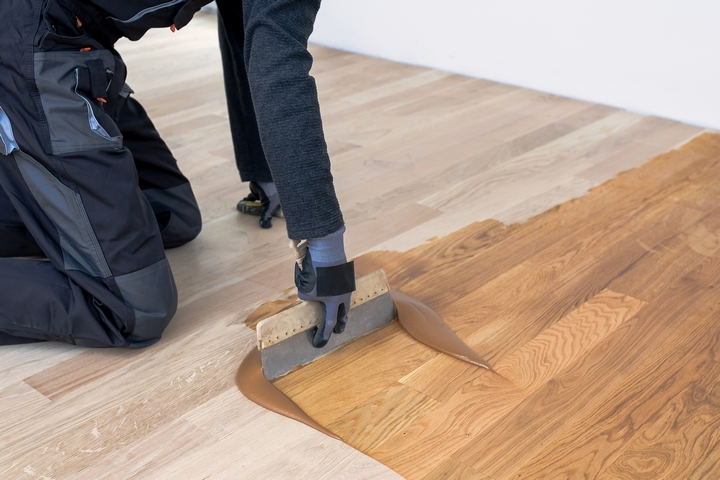
11. Stain and finish

You may choose to stain, or you may choose to keep the natural colour and skip straight to the finish. Either way, follow the directions on the can of stain and/or finish to put the final touches on your “new” floors.
12. Hire a professional

If you’re not interested in investing in the necessary equipment and supplies, or putting in the time and effort to refinish the floors yourself, consider hiring someone to do it for you. Not only will this ensure that the floors get refinished in good time, but you will also know that its been done correctly.


