Are you having an issue with a leaking faucet? Fortunately, you can get it fixed by tackling it yourself or calling a qualified plumber to do it for you. If you have an old faucet leak that you’ve been putting off, it’s time to take action.
Fixing a faucet leak is tough, but that’s great if you are up for it. It may be a job best left to the professionals, so consider calling your local plumber to take on the task of repairing your old leaking faucet.
Here’s how to fix an old faucet leak for those with a penchant for DIY:
Shut off the water supply
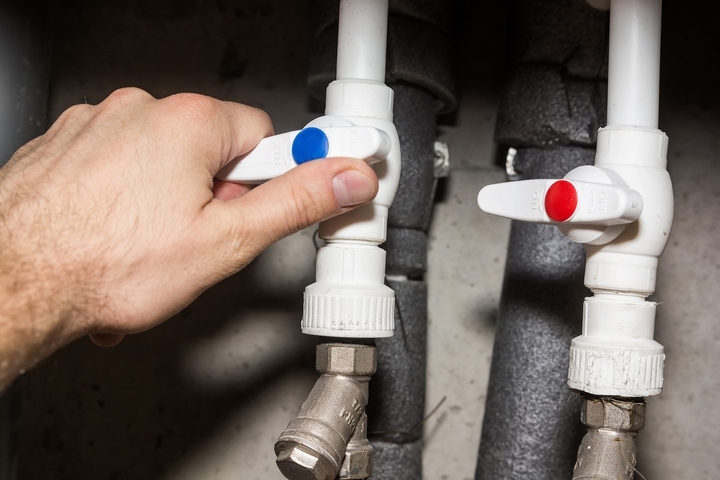
Before taking anything apart, it’s important to turn off the water under the sink. Follow the lines until you see two valves and turn them clockwise to close them, making sure they are snug without over-tightening.
Go back up to the faucet and turn the knobs wide open to get any water left the line.
Fix a compression faucet

The compression faucet has been around since the early days of indoor plumbing. It has two handles to turn on hot and cold water with a compression stem to press against a valve seat to restrict water flow. The source of the leak usually is the seat washer.
Pop off the decorative cap from the tap to get at the handle screw and take it off with a screwdriver. Once the handle is removed, you will need a crescent wrench to remove the packing nut. Loosen and unscrew the compression stem with pliers or an adjustable wrench and take it out.
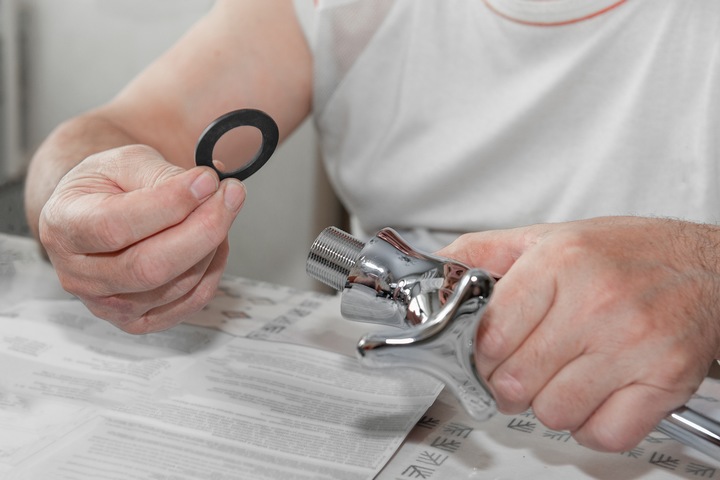
There will be a screw holding in the washer, so you need to unscrew it and replace the worn washer with a new one. There is also an O ring that may need to be replaced. Put back in the screw, reassemble the stem inside the handle, and mount it back on the faucet base by tightening the attaching screw.
Fix a cartridge faucet
A cartridge faucet has no washers and comes in either a single or two handle orientation with either a brass or plastic bodied cartridge. When you turn the handle, the cartridge goes down and stops the water flow. When there is a leak in this faucet, you will need to replace the cartridge.
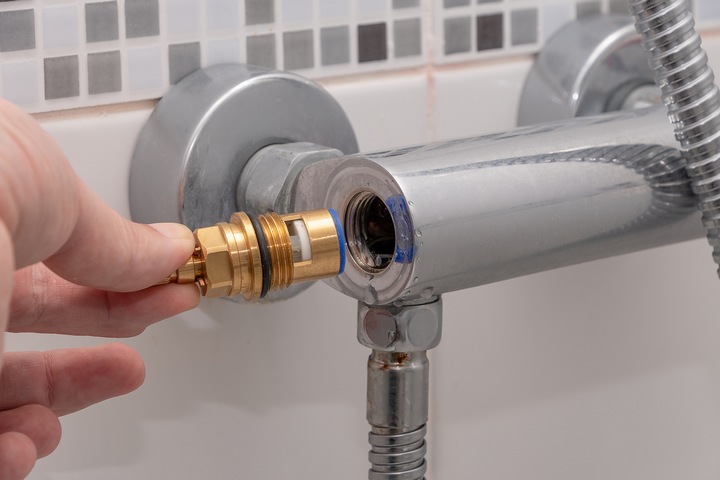
Find the screw that holds the handle on. It could be under a cover, on the side, or even underneath the handle. Depending on the model, remove the screw with either a regular screwdriver or Allen key. Gently pry off the handle and take off the retaining nut with an adjustable wrench. Newer models have a decorative collar and bracket attached to the cartridge and a retention clip holding it to the faucet body.
Pull the cartridge straight up and swap it out with a new one, ensuring it is the exact cartridge type. Sit it into the faucet body and reassemble it in reverse order. Take your time so you don’t miss a step.
Fix a disc faucet
A disc faucet has a single lever that mixes the hot and cold water in a pressure balance cartridge with two ceramic discs that control the water flow by raising and lowering it.
There is usually a concealed set screw that you need to take out before removing the handle. You will see the disc cartridge held in with either a screw or mounting ring that needs to be taken off to pull it out. Depending on the model, you can see if the seal is damaged or needs to be cleaned. Some disc cartridges have the seal housed inside, so you just replace the cartridge itself.
Put the clean or new cartridge back in the faucet body, replace the O spout ring on the neck and put back the mounting screw. Attach the handle, and you are good to go.
Fix a ball type faucet
This faucet has a lot of parts, so finding the source of the leak can be difficult. It is single-handed and controls a metal or plastic ball inside the faucet’s body. The ball itself has slots with rubber O rings to help direct the flow and temperature of the water. Water leaks from the top mean the O rings are worn while leaking from the base is a worn O ring at the bottom of the faucet.
Take the screw cover off and take the hex-head screw out with a hex key to remove the handle. Then you will need adjustable pliers for the cap and collar. The ball assembly includes a cam and cam washer that needs to come out next. Check the ball to see if it is worn or has worn O rings. These can be replaced.
Digging deeper into the faucet, you will remove rubber valve seals and springs and then the spout itself. Here at the base is the O ring that, if worn, should be replaced. Once done, carefully work your way backwards and align all parts to their position until your faucet is back together.