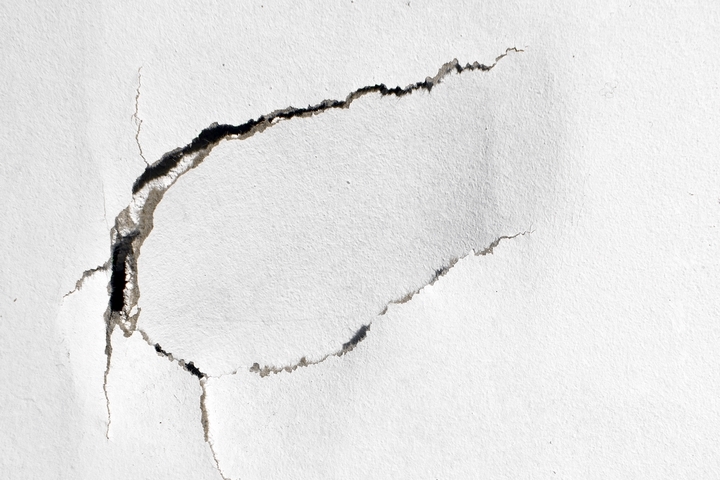
Wall cracks on the inside of your home, typically in the drywall or gyprock, are easy enough to fix. If you’ve got a crack in your walls, you could certainly call someone in to fix it for you, but you could just as easily keep the cash in your wallet and do it yourself. It’s actually super easy, if a little time consuming, and can be done in just a few simple steps.
Here are the eleven ways on fixing interior wall cracks:
Step #1: Hit up the hardware store

The first step on how to repair interior wall cracks is to gather the right supplies. Your first stop will be at the hardware store to pick up a few necessities that you may not already have.
You’ll need a self-adhesive fiberglass mesh tape, a joint compound – either ready-to-use or one that you mix yourself. You’ll also need a joint knife, and 100 or 120 grit sandpaper. You may also need some painter’s tape.
Step #2: Collect other repair necessities

In addition to the things you’ll be picking up from the hardware store, you’ll also need to gather a very lightly dampened rag, your vacuum or a brush. You’ll also need something sharp, like a screwdriver or a utility knife. You may also need metal corner guards for extra protection on the walls.
Step #3: Protect nearby baseboards

If the crack is near a baseboard, like on top of a door frame, or at the bottom of a wall, you’ll want to tape them off with painter’s tape. This will help ensure that you do not damage them or get paint or joint compound on them while you’re working.
Step #4: Scrape away the damaged area

If there is a crack, it is likely that some of the surrounding material is weak. Use your sharp object to scrape away the weaker material and gain access to the stronger stuff underneath. You can then build upon this, instead of building on a weak wall that will likely crack or break again in the near future. Then use your damp cloth, or whichever cleaning tool you have selected, to clean away all of the dust and excess material.
Step #5: Reinforce the wall

Cover the crack with a thin layer of compound, then stick on a strip of the self-adhesive mesh tape. It will help make the joint compound stronger, and will prevent further cracking from occurring in the same place in the future. Adhere the tape starting just above the crack, and ending just below it. Pat the tape down so that it sticks, and cut it down to size with a pair of scissors.
Step #6: Apply the joint compounds

Using a joint knife, apply the compound, feathering out from the crack. This means scraping it out flat, so that there is no discernible difference between the area you are repairing and the wall that has remained in tact. Apply the compound liberally, but scrape away the excess. When you are finished, allow it to dry, then repeat this step two more times.
Step #7: Even it out

Once you have completed the application of the joint compound, you need to sand it down so that it is perfectly even with the in tact areas of the wall. Using either 100 or 120 grit sandpaper, gently sand away at the compound to make it even again. Make sure to gently wipe away any of the sanding dust before proceeding to the next step.
Step #8: Prime and paint

Once the area has been sanded down, it is ready for priming. Priming the area is important, as it helps to ensure that the texture remains the same between the repaired area and the rest of the wall. If you want your repaired area to blend in, you must ensure that you prime it before painting. Once the primer has dried, you can continue on by painting it with the appropriate colour.
Step #9: Additional tips and tricks

The above steps detail the basic crack repair process, which will lead you to a fine repair, however the following steps can be included if you choose. The below are not mandatory, but are helpful in ensuring your final repair is as strong and professional-looking as if you had called in an expert.
Step #10: Use spray-on crack repair

This product can help strengthen your repair, ensuring that it is a long-lasting fix. Often, cracks occur around door frames as a result of the frame of the structure settling over time. They are unavoidable, and spray-on crack repair can be very helpful, as it creates an elastic film that stretches with the crack over time.
Step #11: Use the light to your advantage

By shining a very bright light at an angle on the wall, you gain a different perspective of your repair. Use a raking light with its beam pointing along the wall (rather than directly at it) to catch any defects in the repair. It will clearly help you see where you need to sand spots down, or add more compound. It definitely takes the guesswork out of your repair, and will leave you with a very professional looking finished product.


