Epoxy flooring in a garage or basement environment creates a stylish, highly durable surface that won’t quit. Epoxy has many uses. In terms of epoxy flooring, this type is fairly straightforward to apply and install. It is often relied upon for garages, basements, sunrooms, patios, and various forms of concrete flooring.
In multiple layers, epoxy can easily withstand grease, scuff marks, moisture, and chemical exposure. So long as it adheres firmly to the concrete, the epoxy will unlikely chip or peel like similar concrete paints and finishes.
Here is how to use epoxy to make your concrete floor into something special.
Choose the Right Epoxy
Epoxy is a tough, resin-based paint. It comes in two parts that have to be mixed before being applied. Three types of epoxy flooring exist – solid, solvent-based, and water-based.
Solid Epoxy
Solid does not contain solvents that evaporate and is epoxy in its purest form. It is expensive, hardens rapidly, and is extremely difficult to handle if you’re not a professional.
Solvent Epoxy
Solvent-based epoxy flooring is 40-60% solid, penetrates and adheres to concrete wells, and is available in various colours. Solvent-based epoxy is powerful and potentially hazardous, requiring sufficient ventilation to keep people and pets away.
Water-based Epoxy
Water-based epoxy contains 40-60% solids and has no hazardous solvent fumes. These epoxy finishes are becoming a frequent alternative to solvent-based finishes and can be purchased at any hardware store.
Let New Concrete Cure
If you are working with new concrete, know that it must cure for a full 30 days before having an epoxy coating applied. If an existing concrete floor has already cured, move on to the next step.
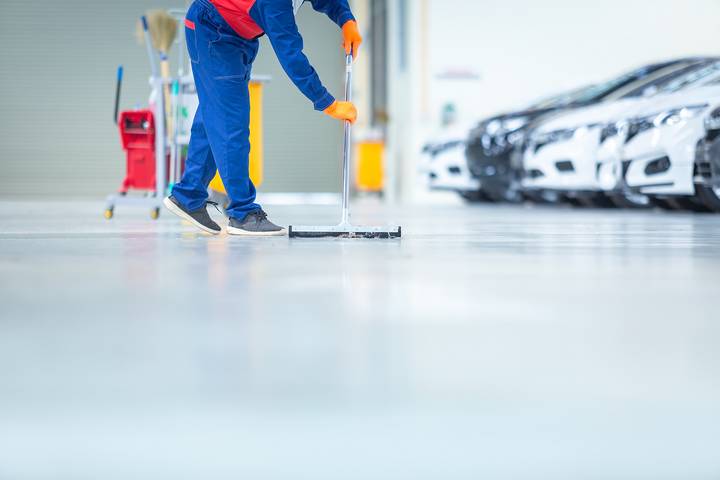
Clean Your Concrete Surface
Before applying epoxy, use a flat-edged shovel or scraper to remove any hardened debris from your concrete floor. All dirt, wax, dust, mildew, and material must be removed.
Then, vacuum thoroughly. Wear rubber gloves and use a soft bristle brush to apply a cleaning/degreasing solution to scrub any grease or oil stains. All this prep work is to ensure the epoxy applies.
Wet the Concrete Floor to Clean It Further
Use a hose to wet your concrete floor. Use a power scrubber with a brush and degrease to do the whole floor, typically in five-foot square sections. If you use a pressure washer, avoid damaging the concrete by never using a pressure setting greater than 1,750 psi.
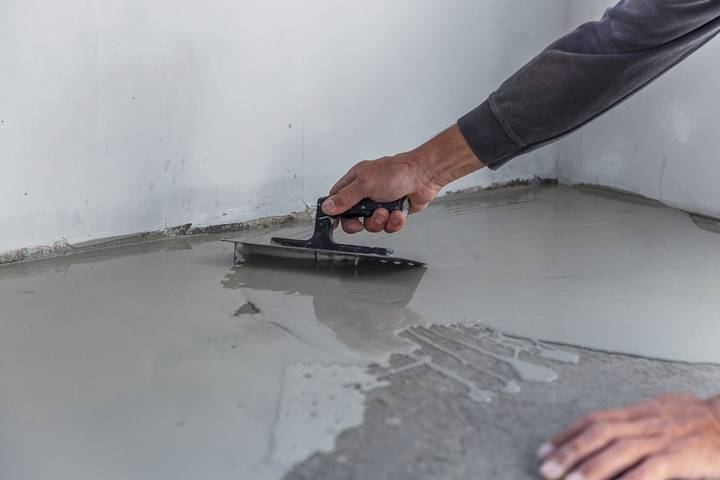
Scrub the corners and along the walls as well. Use a rubber squeegee to pull soapy water into a central area, and then use a wet-dry vac to remove the liquid.
Prepare and Apply the Acid-Etching Mixture
Wear a vapour respirator. Pour a gallon of water into a sprinkler can. Then, pour 12 ounces of 32% muriatic acid into 15 cups of water in the sprinkler can. Mix the solution for a few seconds with a paint stirrer. Then, sprinkle the mixture evenly across a 10×10-foot area.
Next, power-scrub this area for ten minutes. Repeat the sprinkle/scrub process until the entire floor is acid-etched. Lastly, rinse the entire floor three times to ensure all acid residue is flushed. Allow the floor to dry overnight.
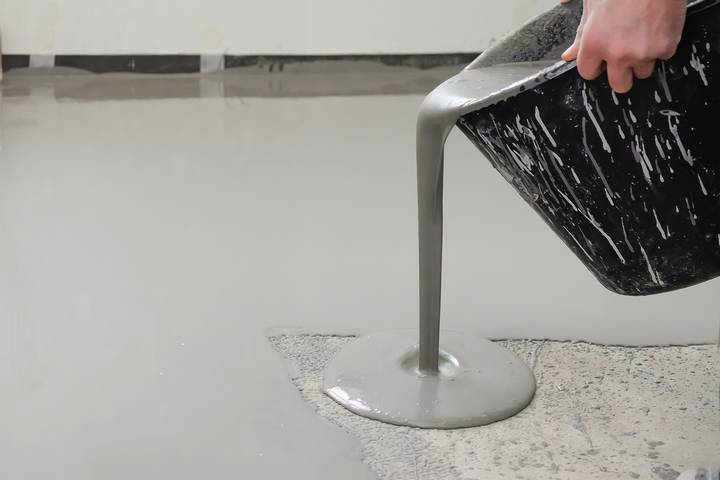
Mix the Epoxy Coating
Follow the manufacturer’s instructions when mixing an epoxy solution. This is typically done with a drill and stirring to ensure complete blending. Many people pour the mixture into a second bucket and power-mix it together a second time.
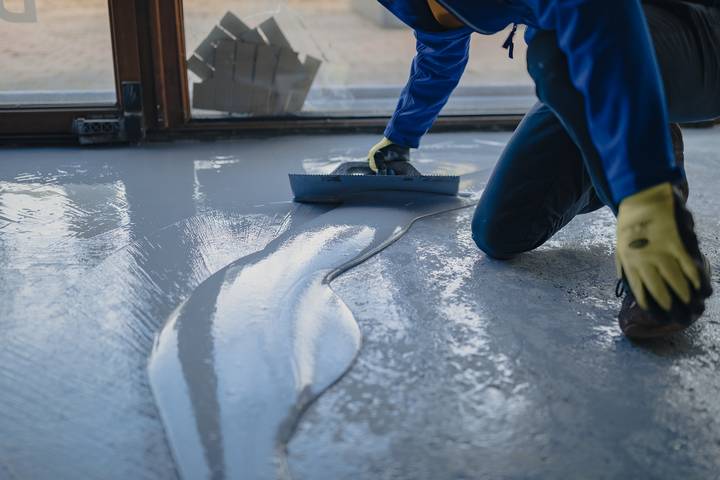
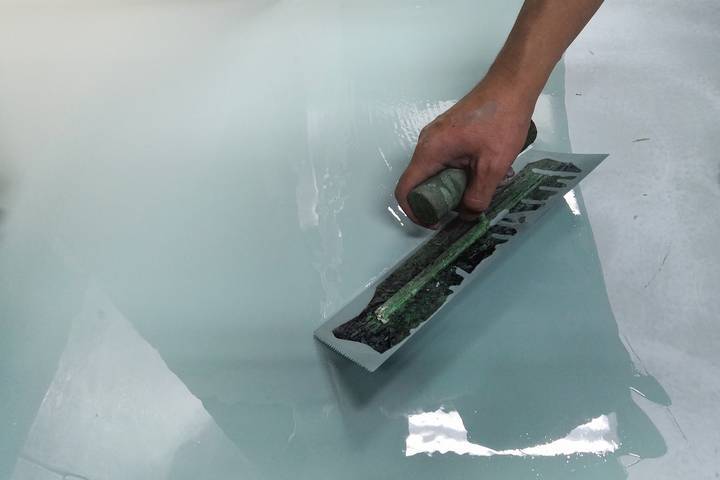
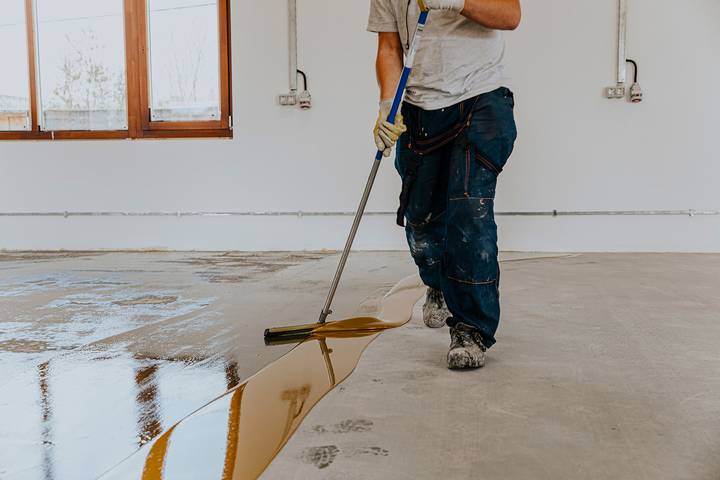
Apply the Epoxy Coating
Start applying the epoxy coating around the perimeter first. Next, use a 9-inch wide roller with a medium nap to paint the floor and roll on the epoxy. Ensure only the bottom half of the roller is covered when dipped into the bucket.
Work in a four-foot square area to apply in a large ‘W’ pattern, backrolling to fill in the pattern and remove roller marks. Move from section to section carefully, ensuring no noticeable seams are forming. Provide enough time for the first coat to dry following manufacturer instructions.
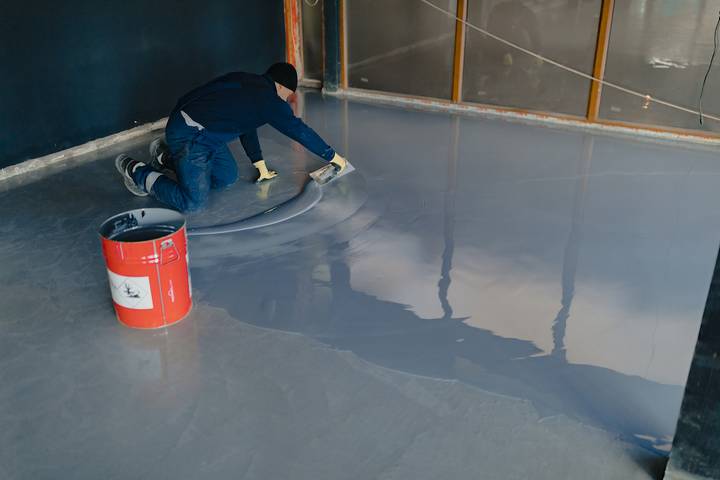
Apply a Second Coat Of Epoxy
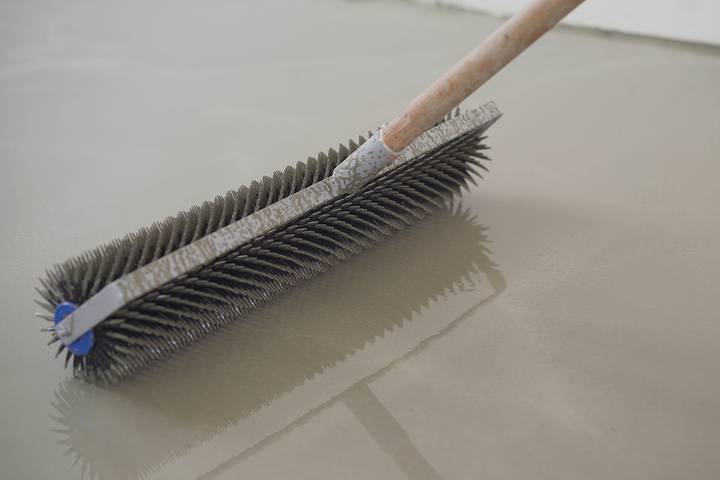
The epoxy may create an overly glossy floor if a second coat of non-skid coating is not applied. Add a non-skid floor coating into the epoxy for the second coat, stir with the drill and stirring bit, and repeat the epoxy application process.
At this stage, some people may add colour flakes or similar effects, lightly scattering them while the area is still wet, creating the patterns they want before the floor dries. Please note that no more than two coats of epoxy should be used.
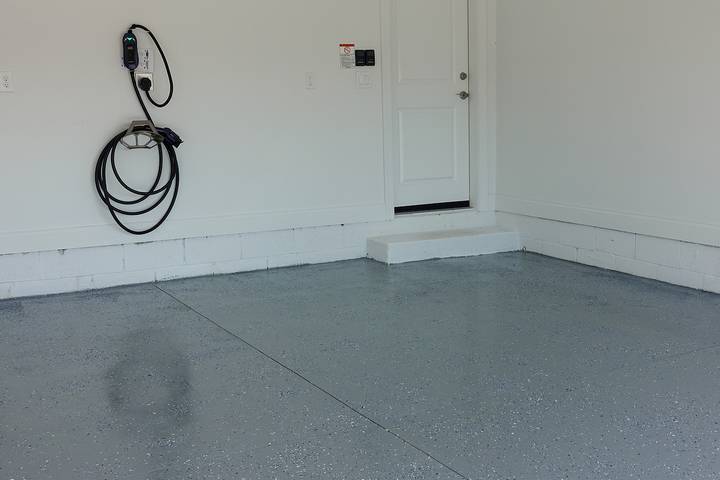
Let Your Epoxy Floor Dry Overnight
After all your hard work is done, let the epoxy dry overnight, and the next day, you should have a finished epoxy floor ready to admire.