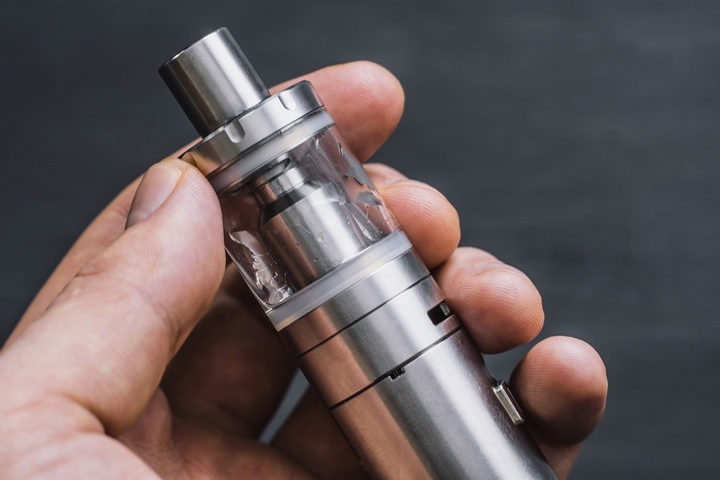
Vaping has become famous worldwide as a safer way of consuming nicotine products. While most vaping devices contain several parts, the atomizer remains crucial for various functions. An atomizer is a part that holds the wick and e-coils heating elements. The purposes of an atomizer remain the same for all types of vaping devices, from vape pods to tanks.
An atomizer is responsible for heating the vape device surface to vapourize the e-juice, holding the e-juice before inhalation, and transporting the e-juice from the reservoir to the heating area. The atomizer remains are a sensitive part of a vaping gadget and should be taken care of consistently. You don’t have to wait until a misfortune affects your atomizer to work on the coils. Experts have advised regular replacement and cleaning of the vape at least every one to two weeks, depending on how much you vape.
Understanding your vape devices, vape pods, and other vape parts are crucial for a great vaping experience. Let’s learn about the atomizer in a vape.
Types of Vape Atomizers

Depending on the device’s design, there are different vape atomizers. The most common types of atomizers include:
Rebuildable atomizers
These coil elements can be reconstructed rather than replaced. They are responsible for massive flavour and vapour production during vaping. Although quite complex, rebuildable atomizers combine modern technology and user-friendliness to offer vapers the most fabulous vaping experience.
Replaceable atomizers
As the name suggests, replaceable atomizers use easily replaceable head coils. Replaceable atomizers are relatively affordable compared to rebuildable ones, and you can wash them to clear the existing flavour if changing to a fresh one.
Disposable atomizers
Disposable atomizers require being disposed of once they cannot function effectively like in their earlier stages. Although disposable atomizers are cheaper than their two counterparts, acquiring new atomizers can be inconvenient for vapers.
How an Atomizer Works
Putting an atomizer to work is easy, like working the entire vape gadget. The atomizer wick draws the e-juice from the tank, effectively allowing it to soak the area surrounding the coils. When you put on and inhale from the mouthpiece, the action activates the gadget’s battery, which then triggers the atomizers to work as required.
The heating element heats the coils, gradually vaporizing the e-juice and making it ready for vaping. The wick continues to draw more e-juice from the tank to the atomizer, which gets heated and inhaled.
Signs of Bad Atomizer
It can be challenging to tell if your vape atomizer requires to be cleaned, replaced, or disposed of, especially if you’re new to vaping. Below are several signs that should guide you to understanding when your vape atomizer requires action:
Leaking vape gadget
Sometimes, your device could leak due to worn-out coils. The most effective fixture in such a case is to replace the coils or the entire atomizer.
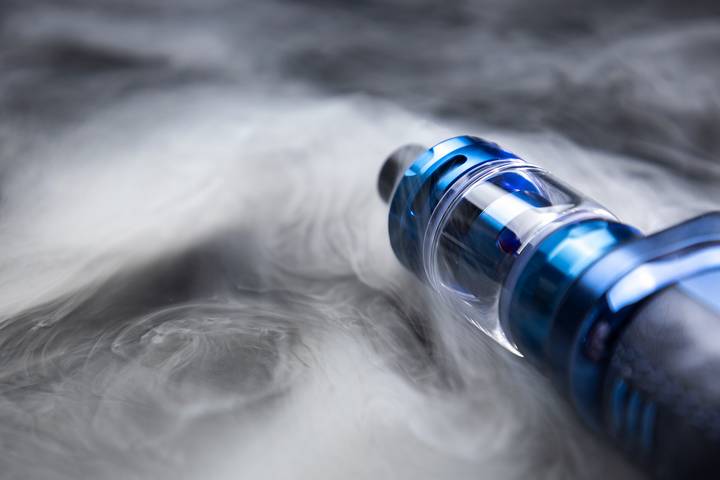
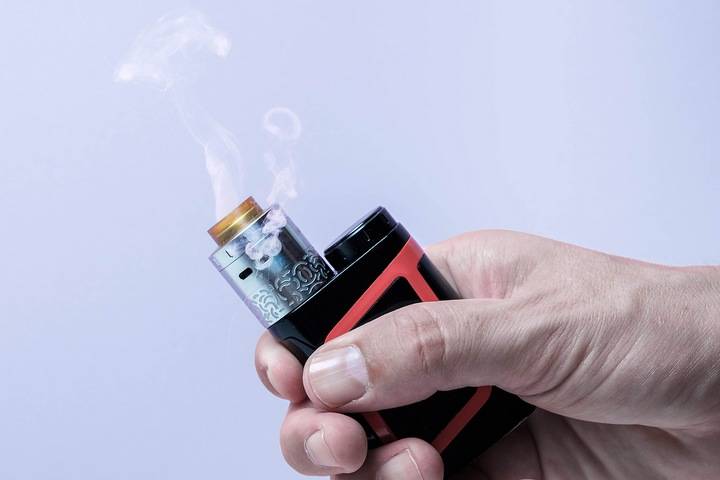
Little or no vapour
Massive cloud production signifies that your atomizer works as required. A reduction in the level of cloud production from the standard one indicates that your atomizer needs to be checked for damages.
Weak or foreign flavour
Since you already know the flavour in your e-juice, any changes should trigger you to check the atomizer for any issues. A light taste signifies worn-out coils, while a foreign one signifies a mixture of flavours. Cleaning or changing the atomizer can help settle the problems, depending on the extent of flavour distortion.
Gurgling sound
Vape gadgets in their stable conditions shouldn’t produce bubbling sounds when vaping. Therefore, hearing such a sound could signify that the atomizer requires to be checked for worn-out coils and other damages.
Burnt taste on the e-juice
The e-juice should maintain its original flavour, not unless the vaping gadget is experiencing some issues. For instance, a burnt taste is commonly caused by worn-out coils and a faulty heating element.
How to Change Coils in an Atomizer
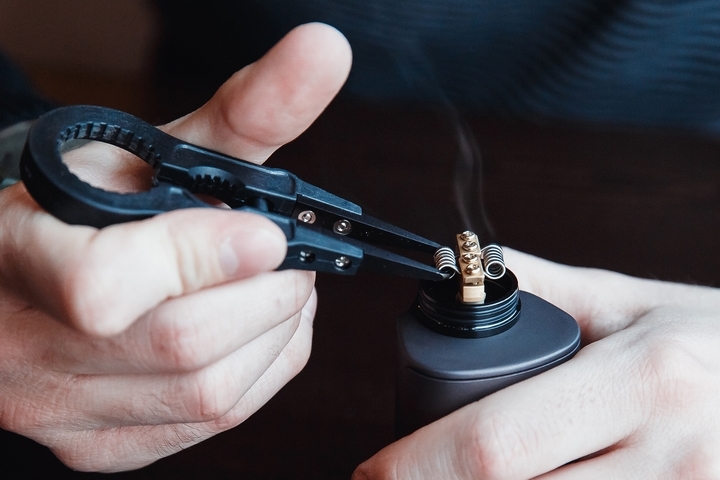
You don’t always have to rush to your vape gadget supplier when a minor issue arises. Removing and replacing coils in an atomizer is relatively easy, even for vaping newbies. Here is a quick guideline for changing coils in an atomizer:
Dissemble the vape gadget
Disassemble the vape gadget to separate the tank from the other parts. A screwdriver is mainly used to loosen the nuts and separate the pieces.
Put vape liquid
Put any e-liquid from the tank in a separate clean tank to avoid wastage or contamination. You may need to wipe any wetness on the atomizer with a clean paper towel or cloth.
Remove the coil
Remove the coils from the atomizer while the new ones pre-sock in a wicking material for maximum saturation. Pre-soaking the new vape coils will prevent them from wearing out and burning soon after inserting them.
Replace the coil
Replace the new soaked coils at the bottom of the atomizer with a screwdriver to ensure it is secure and tight. The white cotton side should face upwards after insertion.
Refill the tank
After successfully replacing the coils, you can refill the tank and re-assemble the vape gadget into its original form. Again, ensure to use a screwdriver for maximum tightness.